The best thing about making mistakes is learning from them. When I started my baking journey, I made every mistake under the sun. You can bet, however, that I have never made the same mistake twice…Well, sometimes I have a short memory and I have made the same mistake twice. Some lessons are harder to learn than others. And some students are completely oblivious to the lesson in front of them.
Macarons have been one such lesson. When I first made macarons, I was only focusing on the fact they had their signature feet and ignored that they had little nipples on their tops and bottoms. I chalked it up to the fact that I wasn’t very good at piping. I came to realize in my most recent attempt that there was something more to getting the shells nice and smooth. I will share with you shortly.
Macarons are so finicky. It’s often said that you should never make macarons while it is stormy outside. It can, however, be stormy inside and it will not affect the macarons whatsoever. Though it would put you in a terrible mood.
I am happy to say that after the storms inside and out, and the thousands of macarons that I’ve made, I have perfected the elusive macaron.
Tips to achieving the perfect macaron:
1. Do yourself a favor and buy a kitchen scale. This is just good sense in general if you are an avid baker. Measuring ingredients ensures that your baking comes out the same every single time. There are too many variables when using cups. Say flour for instance, between scooping directly from the bag or carefully spooning directly into your measuring cup, you are going to get a different amount. (Unless the recipe specifically states to spoon and level the flour, but its still not 100% accurate every time.
2. Now that you have a kitchen scale, measure every single ingredient exactly! This includes egg whites, my friend! Most recipes will give you an amount in grams and then go on to say about 2 medium sized eggs. I have learned the hard way that going by the weight of the eggs whits is the way to go!
3. Sift, sift, sift, sift, and when in doubt…..sift. The key to a perfectly smooth macaron shell is making sure you don’t have chunks of almonds in the batter when you pipe. Don’t forget about sifting the powdered sugar as well. Leave nothing up to chance!
4. Which brings me to the next point, grind that almond flour until it is dust. The finer the better. I prefer to grind the almond flour by itself instead of whit the powdered sugar. Just to ensure that all of the flour gets evenly grounded.
5. Make sure you whip the egg whites until there are stiff peaks. Stiff meaning when you lift the whisk, the peaks stand straight up and don’t curve down. You your egg whites are too soft, it affects how they bake. You may wind up with meringue cookies. Still delicious, but you’d be laughed out of France for trying to pass them off as macarons.
6. Now this point was eye opening to me. When it comes to the macaronage (*See note) stage the key is making sure all of the air that you so lovingly whipped into the egg whites gets knocked out. I KNOW! Why go through all that effort just to undo it? I don’t know the science behind it all, all I know that it is extremely necessary if you want smooth macarons with beautiful sexy legs.
7. The macaronage step is the most tedious step of them all. Make sure you Slooooowly fold in your dried ingredients. After they are combined continue to Slooooowly fold the batter. Be warned it may take awhile and your fingers and wrist may start convulsing before its ready. You’ll know you’re done when it drips off the spatula like lava and you can trace a figure 8 several times before it breaks off. This is a step that I had not done properly until just recently and it makes a big difference.
8. When piping your batter, make sure your bag is straight up and down. Otherwise you’ll get lopsided shells. If you measured out your circles, stop piping before you reach the edge. The batter will naturally spread a bit more during the semi-aggressive tray slamming part.
9. Now about that tray slamming, make sure you slam firm enough to be rid of all the air bubbles. Don’t go too crazy, but also don’t be a wuss about it.
10. Don’t skip the resting. The circles should be dry to the touch before you put in the oven. Depending on how warm it is in your kitchen the time will vary.
And there you have it!
This whole macaron lesson came about when I was asked to make a macaron cake. Essentially, a giant macaron! Who wouldn’t want to take on this exciting challenge. After all of the research I did on macarons and the notes I took, I discovered that I had created my own recipe for macarons based on various elements of other recipes. A Frankenstein’s monster of macaron recipes if you will.
Sophia’s French Macaron
Yields: 20 regular, 40 small, or 1 7” cake
Prep: 60 minutes
Bake: 10-30 minutes
Ingredients:
For the Macaron Shells:
150g ground almonds
150g powdered sugar
110g egg whites, room temperature
1 tsp vanilla
1/4 tsp salt
150g sugar
Gel food coloring of choice
For the Filling:
7oz butter, room temperature
9oz sweetened condense milk
1 tsp vanilla
Directions:
1. Line few baking sheets with parchment paper. Trace circles of your preferred size of macaron or a 7 inch circle for the cake.
2. Weigh the ground almonds in a medium sized bowl. Then, pour into a food processor and pulse until it is the consistency of sand. Using a coriander, sift the powdered almonds into a bowl. Weigh the powdered sugar and sift into the bowl with the ground almonds. Stir the two together then set aside.
3. Weigh the sugar in a small bowl. Set aside.
4. Separate your room temperature eggs and measure out the egg whites. Pour the egg whites into the bowl of your stand mixer. Start whipping the egg whites until they are frothy. Once frothy add the sugar (a Tablespoon at a time), vanilla, and gel food coloring. Continue whisking on high until the egg whites have stiff peaks. Stop and check every few minutes. It’s just as bad to over-whip as it is to under-whip.
5. Once you have stiff peaks, sift the powdered sugar/almond mixture in with the egg whites. With a spatula, slowly start folding it in. Start by going under the mixture up to the top. Once the dried ingredients are incorporated, continue folding for several minutes, stopping to check every few folds how the batter drips off the spatula. The batter should deflate a bit and start to get thinner and smoother.
6. When you have achieved the right consistency (figure 8 several times and dripping with lava-like consistency) gently pour the batter into a piping bag fitted with a round tip. With the bag straight up and down, start piping in the center of your circles until just before they reach the edge, stop squeezing the bag and lift with a small rotation to attempt a smooth top (Don’t worry if there’s a slight peak, the slamming process should flatten it out.) If you are piping into a 7 in circle use the same technique but perhaps with a large round tip.
7. Once all of the batter has been piped, take each tray and firmly slam them a few times on the counter. This will help smooth your tops a bit more. The 7 in circles may take a little bit longer since there’s more batter to work with. Use your best judgement.
8. Allow them to rest until the tops are dry to the touch. About 30 minutes.
9. Preheat the oven to 300F for regular macarons or 285F for the macaron cake.
10. Bake the regular macarons one tray at a time for 10 minutes on the center rack.
11. Bake the macaron cake for 30 minutes. Once 30 minutes have pass, turn off the oven and crack open the door. This will help dry out the large macaron a bit more and will prevent cracking.
12. Allow to cool fully on the tray for a few minutes before transitioning to a wire rack to cool completely before filling.
13. In the bowl of your stand mixer, add the butter and mix until light and fluffy. About 5-7 minutes.
14. Add the vanilla. Gradually add the sweetened condense milk in thirds, mixing after each addition.
15. Once incorporated the buttercream is ready to use.
16. Transfer the buttercream to a piping bag with a star tip (Or any other tip of your choosing!)
17. Pipe the center of half the macarons and gently place the other half on top pressing down slightly.
18. For the cake, start to pipe around the circumference of the bottom shell. Be carefully not to pipe too close to the edge. Work your way around to the center of the shell. very Gently place the top shell on and press slightly down. Use the remaining, buttercream to decorate the top as you see fit.
As the French say: “Bon Appetit!”


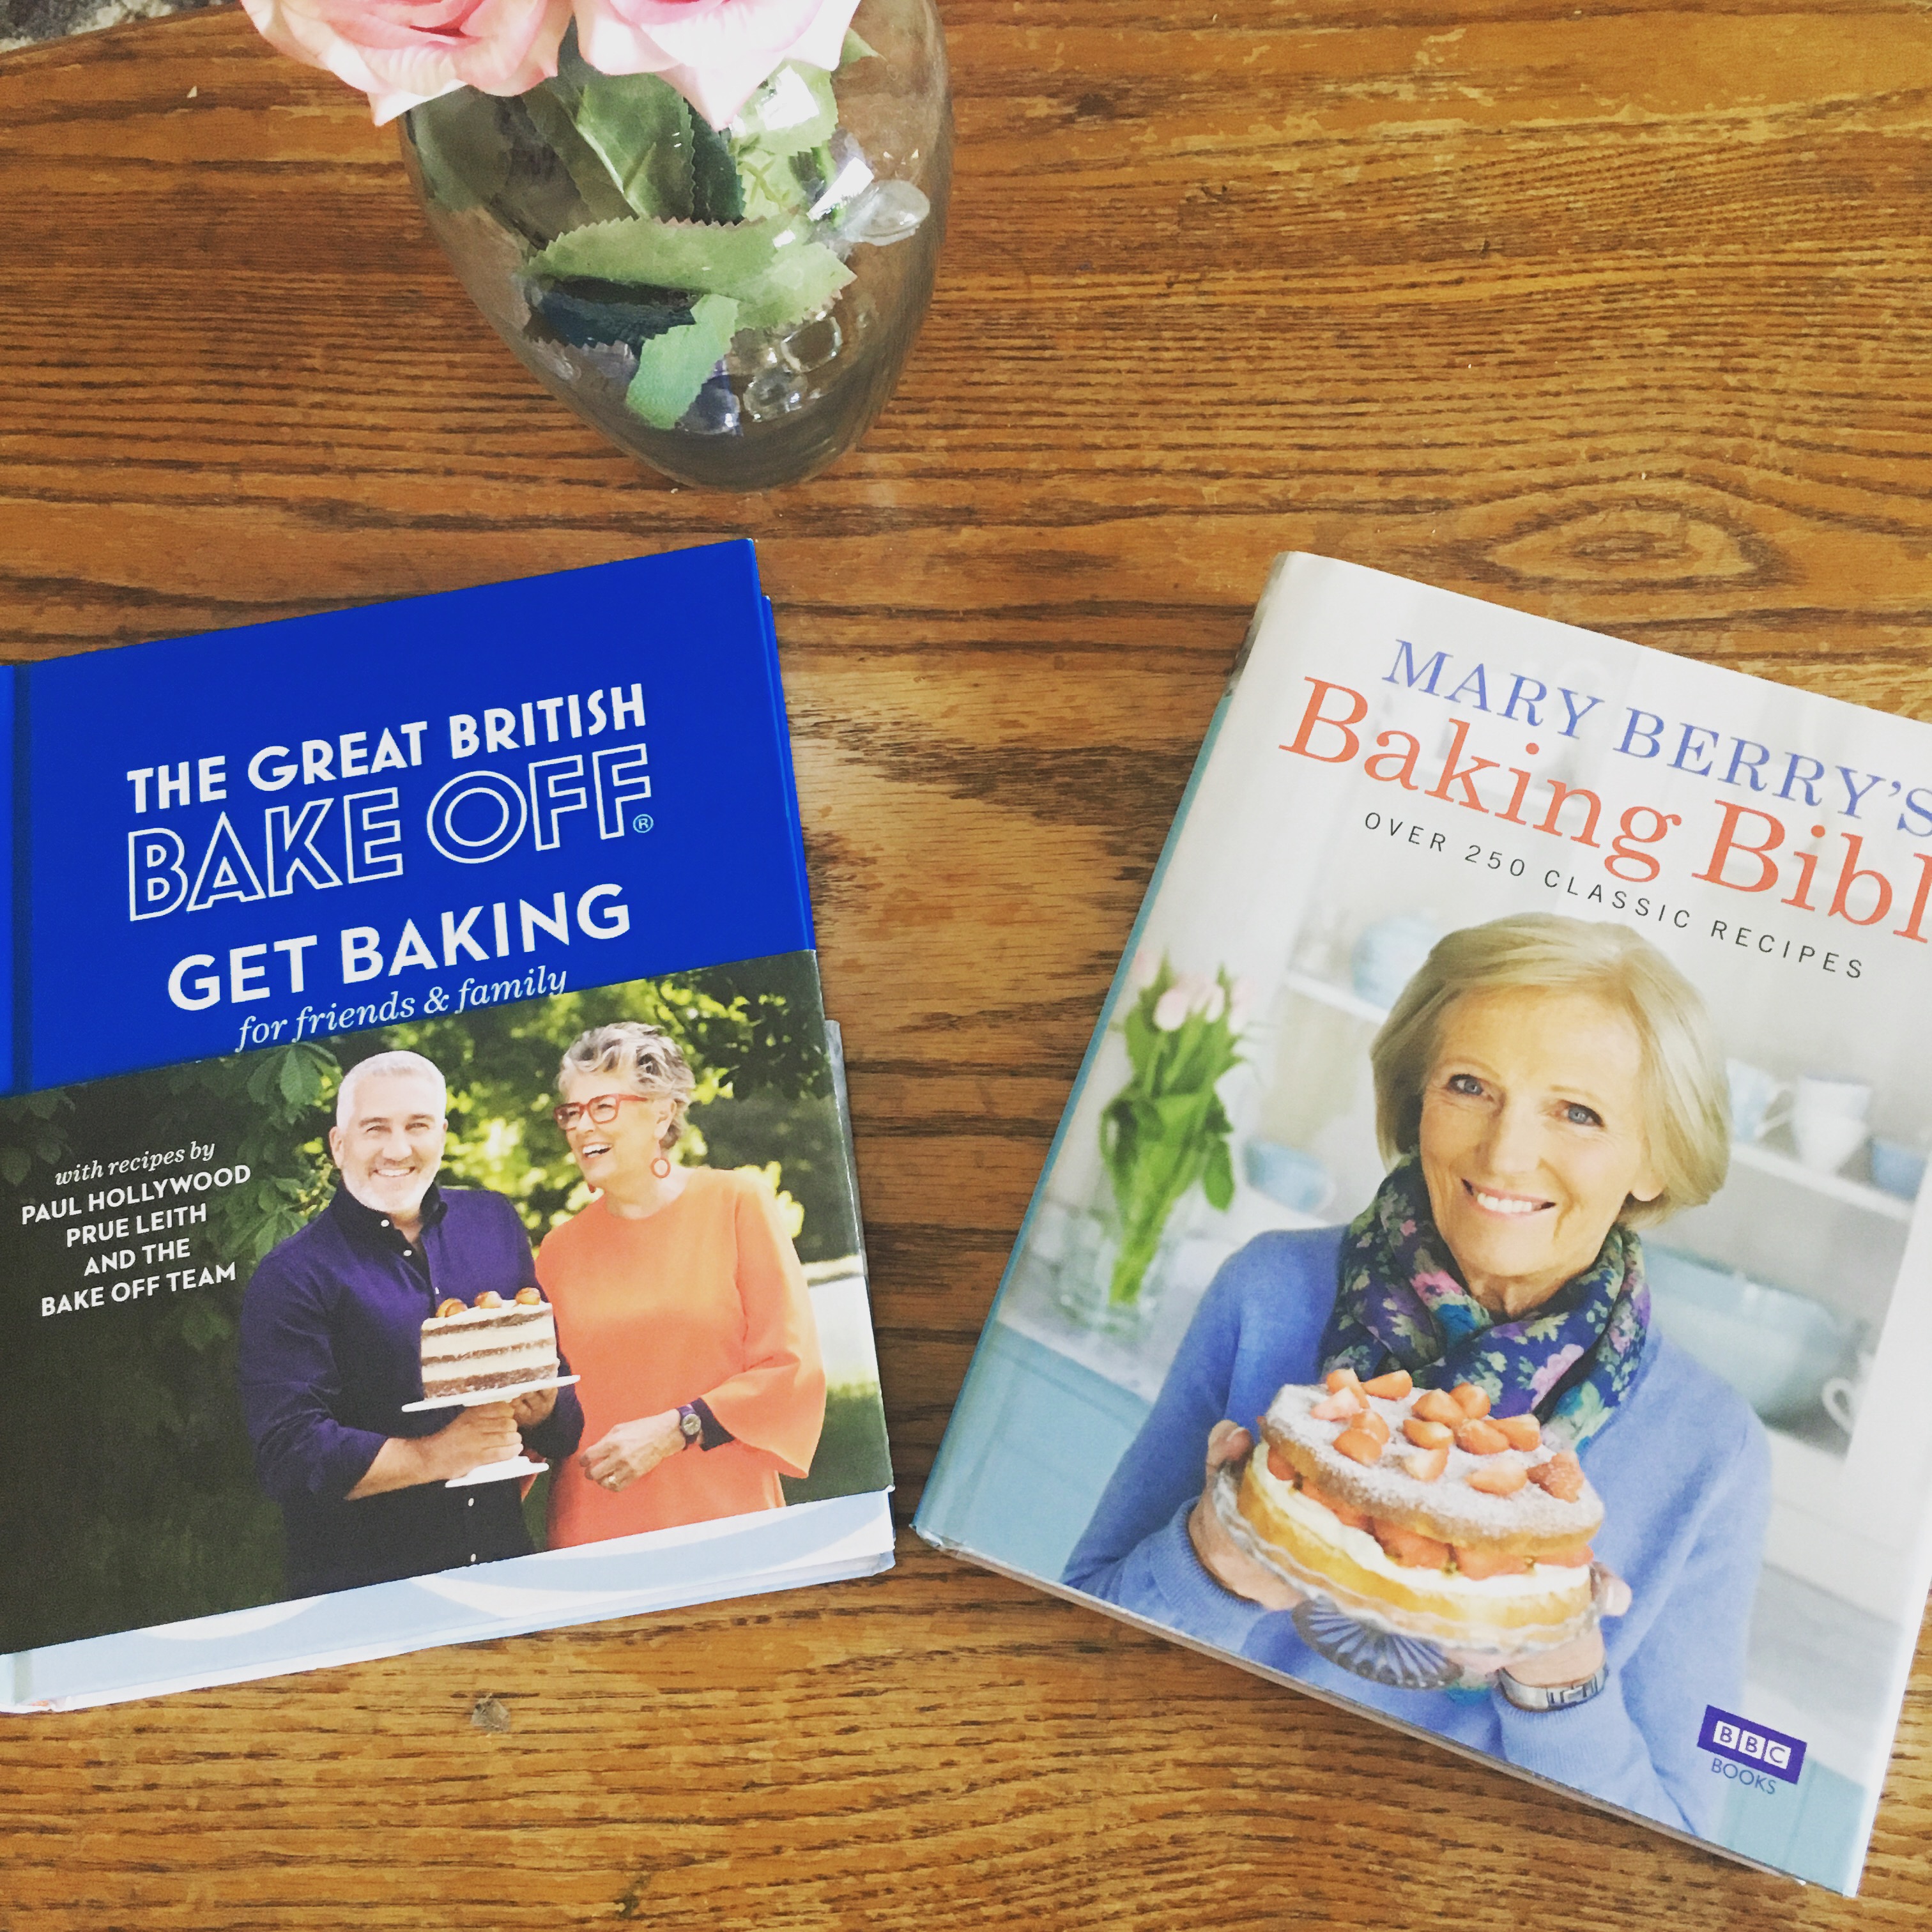
 I’m back with another Technical Challenge from The Great British Baking Show! I had taken a year hiatus because of my pregnancy and the birth of our son, James. Motherhood has been quite an interesting and amazing journey so far. My time had been consumed by this little nugget. I honestly wouldn’t have it any other way. He is now 5 months old and able to play more independently, which grants me a little time here and there to get chores done or to start baking again! We have been so blessed with James. He is extremely easy going and has a hilarious personality. He’s just one giant goofball. Just this past week, he has mastered rolling over. Since then, He hasn’t stopped moving. Before I know it he’ll be crawling and then walking. I’m not sure I’m ready for that yet. It already feels like my little boy is growing up too quickly, and I keep picturing that sad day when he leaves home for good. Until then, He is going to be my little baking assistant.